
When summer hits hard, your AC system becomes the real MVP of your home. But here’s the thing: simply buying a high-quality unit isn’t enough. If your AC Installation isn’t done properly, you could lose efficiency, waste money, and shorten your system’s lifespan. That’s why expert air conditioner setup tips truly matter.
Whether you’re planning a New AC Installation, upgrading your old system, or considering a Residential AC Install, you need more than just a basic understanding. You need the right strategy. In this guide, we’ll break everything down in a clear, friendly, and professional way. We’ll follow industry best practices while providing deeper insights that many competitor blogs miss. Let’s ensure your cooling system performs at peak from day one.
Start with Proper System Sizing – Bigger Isn’t Always Better
One of the most common mistakes in Air Conditioning Installation is selecting the wrong unit size. Many homeowners believe that bigger is better for cooling. However, that’s simply not true.
An oversized unit cools too quickly and shuts off before completing a full cycle. As a result, it fails to remove humidity properly. On the other hand, an undersized system struggles to keep up and runs constantly. Both scenarios increase energy bills and reduce comfort. A professional load calculation (Manual J) ensures your AC System Installation matches your home’s square footage, insulation levels, window placement, and climate conditions.
If you’re unsure where to begin, consult a licensed expert through a trusted provider to ensure accurate sizing before installation.
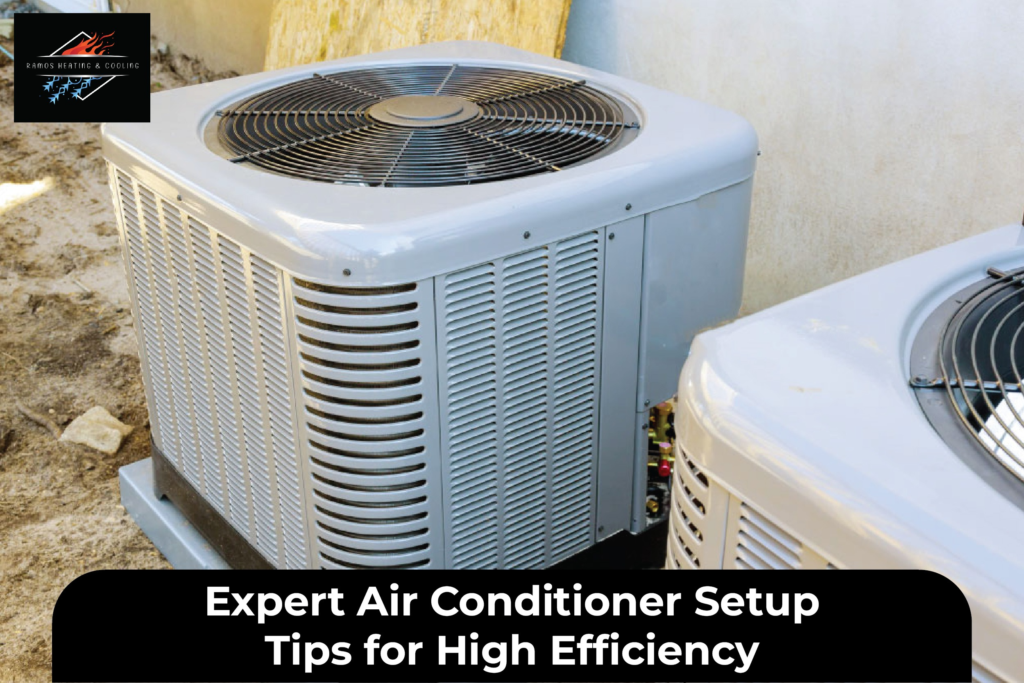
Choose the Right Location for the Outdoor Unit
Placement matters more than most homeowners realize. During AC Unit Installation, the outdoor condenser should be installed in a shaded, well-ventilated area. Direct sunlight can reduce efficiency, forcing your system to work harder than necessary.
Additionally, keep the condenser away from walls, fences, or bushes. Proper airflow is essential. Ideally, leave at least two feet of clearance around the unit. This allows it to release heat effectively and operate at optimal efficiency.
Many competitor blogs mention placement briefly, but they rarely explain airflow clearance in detail. Proper spacing alone can improve system performance significantly over time.
Seal and Insulate Ductwork for Maximum Efficiency
Even the best Central AC installation will underperform if your ductwork leaks air. According to industry estimates, poorly sealed ducts can waste up to 30% of conditioned air.
During Professional AC Installation, technicians should inspect and seal all duct joints with mastic sealant or metal tape, not standard duct tape. Furthermore, attic ducts must be properly insulated to prevent energy loss.
If your current system struggles with uneven cooling, consider reviewing this guide for troubleshooting ideas. Addressing duct issues early can protect your investment and improve overall system performance.
Install a Smart Thermostat for Better Control
A high-efficiency system deserves intelligent control. Pairing your New AC Installation with a smart thermostat helps regulate temperature more precisely.
Smart thermostats learn your schedule and adjust automatically. Consequently, they reduce unnecessary cooling when you’re away. Many models also provide energy reports that help you track savings over time.
This upgrade enhances comfort while lowering your AC installation cost over time by reducing energy consumption. It’s a small addition that delivers powerful results.
Ensure Proper Refrigerant Charge
Refrigerant levels are critical to performance. During AC Installation, technicians must charge the system in accordance with manufacturer specifications.
Too much refrigerant causes pressure issues. Too little reduces cooling capacity and strains the compressor. Unfortunately, improper charging is a common installation error that immediately reduces efficiency.
Professional installers use gauges and superheat/subcooling calculations to verify accurate levels. If you want optimal performance, never skip this step. Proper refrigerant charging directly affects both cooling power and long-term reliability.
Prioritize Electrical and Drainage Setup
Electrical wiring must meet local code requirements and manufacturer guidelines. A poorly wired system increases the risk of short circuits and component failure.
Likewise, condensate drainage is essential. During Residential AC Install, technicians should ensure the drain line slopes correctly and includes a safety switch to prevent overflow. Blocked drains can cause water damage and indoor humidity problems.
These behind-the-scenes details may not be visible, but they’re essential for high-efficiency operation.
Don’t Skip Professional Testing and Commissioning
Once the AC System Install is complete, testing should begin immediately. Commissioning ensures every component works as designed.
Professionals test airflow, thermostat calibration, refrigerant pressure, electrical connections, and temperature splits. Without proper commissioning, even a perfect Central AC installation can underperform.
If you’re in Wisconsin, for example, you can explore expert services. Working with experienced technicians guarantees your system is optimized from day one.
Understand Long-Term Maintenance for Sustained Efficiency
High efficiency doesn’t end after installation. In fact, ongoing maintenance determines whether your investment continues delivering value.
Replace filters every one to three months. Keep the outdoor unit clear of debris. Schedule annual professional tune-ups before summer begins. Regular inspections prevent small issues from becoming costly repairs.
Many homeowners focus only on the upfront AC installation cost. However, long-term maintenance protects your system and reduces future expenses. In other words, proper care maximizes return on investment.
Evaluate Energy Efficiency Ratings Before Installation
Before committing to a New AC Installation, review the SEER (Seasonal Energy Efficiency Ratio) rating. Higher SEER ratings indicate better energy efficiency.
Although high-efficiency systems may cost more upfront, they significantly reduce monthly energy bills. Over time, this offsets the upfront AC Install Cost. Additionally, some regions offer rebates for energy-efficient models, further reducing costs.
A knowledgeable contractor can help you compare options and recommend the best unit for your home’s needs and climate conditions.
Final Thoughts
Your air conditioner is one of the most important systems in your home. Therefore, every detail matters—from sizing and placement to duct sealing and refrigerant charging. Expert-level Air Conditioning Installation ensures you enjoy consistent comfort, lower energy bills, and long-lasting performance.
Instead of cutting corners, invest in Professional AC Installation that prioritizes precision and quality. When installed correctly, your system will deliver dependable cooling season after season.
If you’re planning a Central AC Install or upgrading your existing system, make sure you partner with experienced professionals who understand efficiency inside and out.
FAQs
1. How long does AC Installation take?
Most standard AC Unit Installation projects take one to two days, depending on system complexity and ductwork adjustments.
2. What affects AC Install Cost?
Factors include unit size, efficiency rating, ductwork condition, labor costs, and additional upgrades such as smart thermostats.
3. Is Professional AC Installation necessary?
Yes. Professional installation ensures correct sizing, refrigerant charging, electrical setup, and system calibration for peak efficiency.
4. How often should I service my new AC system?
Schedule maintenance at least once a year to maintain efficiency and prevent breakdowns.
5. What is the difference between Central AC Install and Residential AC Install?
A Central AC Install typically refers to whole-home ducted systems, while Residential AC Install includes all home cooling systems, including central and ductless units.